Learn To Draw Fashion Models
Learn To Draw Fashion Models – Fashion illustration is a skill that develops over time and depends on a lot of patience and practice. Perhaps the most rewarding part of learning how to draw a fashion figure is being able to sketch out your own clothing design ideas in a simple and readable way. This is especially important if you want to learn how to design and make your own clothes.
Let’s face it, the concept of drawing clothes on a fashion figure is a little intimidating. However, you don’t need a degree in fashion design to learn how to design your own clothes and effortlessly sketch your ideas on paper.
Learn To Draw Fashion Models

The good news is that there are a few simple steps you can follow that will help you avoid some of the confusion associated with proportion and movement and allow you to focus and prioritize when drawing clothes. Before discussing clothing sketches, it is important to first understand how to draw a fashion figure. Drawing the figure first and then dressing it with your design ideas will not only help you bring the garment to life, but also make the process of sketching and understanding the basic fabric, drape, cut and movement easier.
Best Free Fashion Design Software To Get Creative
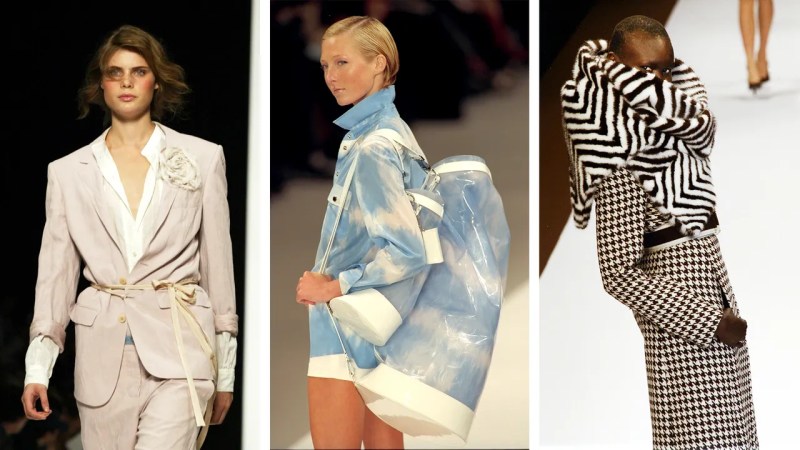
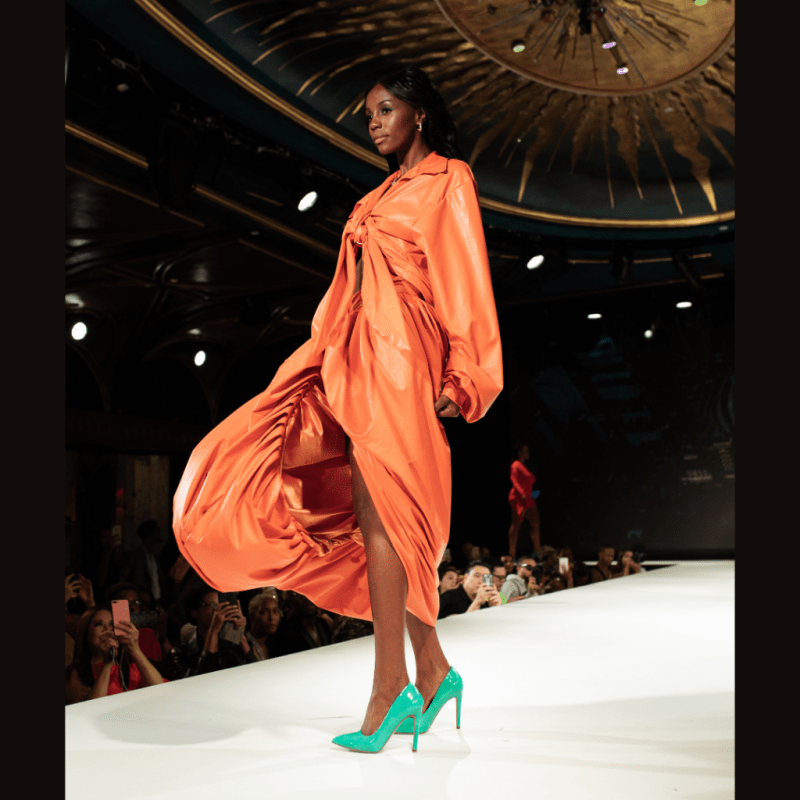
A fashion figure differs from a regular figure drawing in that it is a more dramatic, less detailed representation that has more exaggerated movements and proportions. Fashion figures can be any shape you want in style allowing you to really express your style artistically. Often the style of your fashion sketches reflects the style of the clothes you design. As a beginner, don’t stress too much about finding your style right away – it’s something that happens naturally over time, whether you work hard or not. For now, focus on learning the basic proportions and movement concepts described below that will hopefully lay the building blocks for finding your drawing style over time.
As described above, a good fashion drawing should capture the movement of the design and fabric you see. By learning a few basic concepts of proportion, balance and movement, you can sketch a fashion figure in just a few minutes. As you practice, you’ll discover what works best for you and your drawing style.
Practice makes perfect. Keep practicing until your hand loosens up and you feel confident with the pencil and the work surface.
Don’t be afraid to make mistakes. – You can break the rules! Try different things despite what the “rules” tell you. This is important for finding your comfort level and ultimately developing your own style.
Drawing The Female Body: A Step By Step Guide For Beginner’s
Practice drawing continuous lines of different widths and pressures. Try to avoid drawing multiple broken lines to form a continuous line. This can be quite messy and doesn’t allow you to fully relax when sketching.
Simplify. Simple impressions of lines that capture the general movement and proportions are often enough to make a sketch of a fashion figure complete.
1. Draw a slightly curved vertical line in one continuous motion. Don’t worry about how straight or curved the line is, only the vertical line is free. This will serve as your vertical balance line.

Traditionally, the vertical line of balance is a straight line that defines the balance of the figure and the position of the feet. To make it easier, we bend the rules and make this line semi-curved. This semi-curved line will still allow you to pull the right balance in your fashion figure, but it will also help you capture the movement of the figure more easily, especially if you are a beginner.
How To Become A Fashion Designer: Everything You Need To Know
The traditional rule of the vertical line of balance is: DO NOT place both feet on either side of the line or the figure will appear to be falling. Each foot should be placed on either side of the vertical line. It is perfectly fine for one foot to touch the vertical line as long as most of the surface of the foot remains on the opposite side of the line from the other foot.
The same rule applies to the semi-curved vertical balance line shown above. However, it is perfectly fine if the foot goes a little higher on the opposite side of the line. You can usually estimate the position of the feet by moving the fashion figure as we will show you below.
Then draw a slanted horizontal line less than half the distance from the top of the vertical line as shown in the image below.
Again, don’t worry too much about measuring the exact distance as long as the horizontal line is placed higher than the center point of the vertical line. This will serve as the hip line.
How To Draw Fashion
Don’t worry about the length of this horizontal line. Just run it in a continuous line making sure it’s slightly tilted.
As you will learn below, the direction in which this horizontal line (hip line) leans affects the movement of the body and works hand in hand with the shoulder line.
3. From the horizontal line you drew (hip line), divide the upper part of the vertical line into 3 parts. Draw dashed lines to better visualize the division. The first part from the hip line up should be about the same length as the top of the vertical line. The middle part should be slightly longer than the two described outer parts.

Look at the picture below and notice the proportion between these dashes – try to copy this position in your drawing.
Fashion Design Sketch Images, Stock Photos & Vectors
4. On the first line from the top, draw another horizontal diagonal line in the opposite direction from the hip line. This will serve as the shoulder line.
As you did for the hip line, don’t worry about measuring the shoulder line. Feel free to transfer it in a continuous line making sure it slopes in the opposite direction of the hip line.
To put this into perspective, one side of the hip line and one side of the shoulder line should point towards each other, while the other ends should point away from each other.
As described above, the shoulder and hip lines work interdependently when it comes to movement. They should always lean in opposite directions to achieve the correct figure pose. The more slanted the lines, the more exaggerated the movement, often resulting in a more dramatic look to the fashion figure.
Fashion Body Sketch Step By Step
As you practice different versions, you’ll find your own style and learn which method you prefer. You will often find that if you sketch a dress with more drape it will require more movement in your figure where the hip and shoulder lines should be more sloped.
Hypothetically, the hip line in the sketch above would slope in the opposite direction, and the shoulder line would also point in the opposite direction.
Go down to the next line (center right) and sketch a smaller horizontal line just slightly angled in the same direction as the hip line – This will mark the waist line.

The idea is to have a waist line that slopes slightly, but not as much as the hip line. In some cases, you can leave this line straight.
Fashion Flat Sketches Basics
Remember that the waist line should be shorter than the hips and shoulders. Don’t worry about the exact distance at this point as long as you keep this proportion in mind.
Pay attention to the distance between the waist line and the hips. Use this radius and place a horizontal dotted line along the vertical balance line at this distance from the hip line – this will mark the crotch line. If this seems confusing, use the sketches below as a reference.
The crotch line may seem unimportant now, but it really helps a lot when you draw the legs and get the organic shape of the hips.
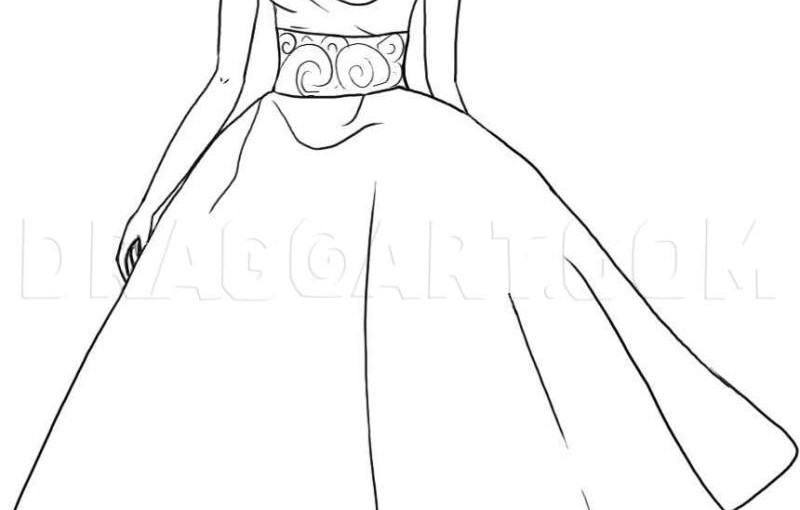
Now for the joining part: you connect the shoulders to the waist, the waist to the hips, and the hips to the bottom center line on both sides of the figure. This will complete the rough draft of the torso and you will finally start to see your fashion figure emerge from all the lines.
Model Fashion Sketch Images
The shoulders should always be slightly wider than the hips. How much you want to do this is up to you as long as you keep this proportion in mind.
The waist can be as thin or wide as you like. For a more dramatic fashion statement, you can make the waist very thin.
Drawing small markers (vertical lines) along the horizontal lines helps you notice how wide you want your shoulders, hips and waist to be.

Once you notice these marks, connect them with semi-curved continuous lines: It is easiest to go from the shoulders down to the hips and from the hips down to the waist on both sides as shown in the pictures below.
How To Draw A Fashion Sketches Like A Fashion Designer In 15 Minutes
8. Starting at the hip, draw a semi-curved line (with the opening curve downwards) on the side of the lowest line (groin). Repeat this step on both sides of the hips.
On the side
Learn to draw fashion sketches, learn to draw doodles, draw fashion models, learn to draw portrait, learn to draw lessons, learn to draw course, learn to draw fashion designs, learn to draw fashion figures, learn to draw blood, learn to draw online, how to draw fashion models, learn to draw fashion
A fashion designer...